How To: Make Your Own Chair Slip-Cover


Before After
I don't know about you but at my house things can get messy from time to time. This tutorial I chose to do on a child's size chair but the principals are exactly the same for any chair or couch that you need to cover.
I want to start by saying that this doesn't have to take you a long time to do and you can have professional results. Store bought slip-covers can be expensive and look little better than a sheet thrown over your chair or couch. To get a better fit you will want to make a pattern to fit your furniture exactly.
Let's Begin! Start with plain cotton fabric. You can buy bleached or unbleached muslin or cotton from the fabric store or you can use an old sheet. A lighter color will be easier to mark on.


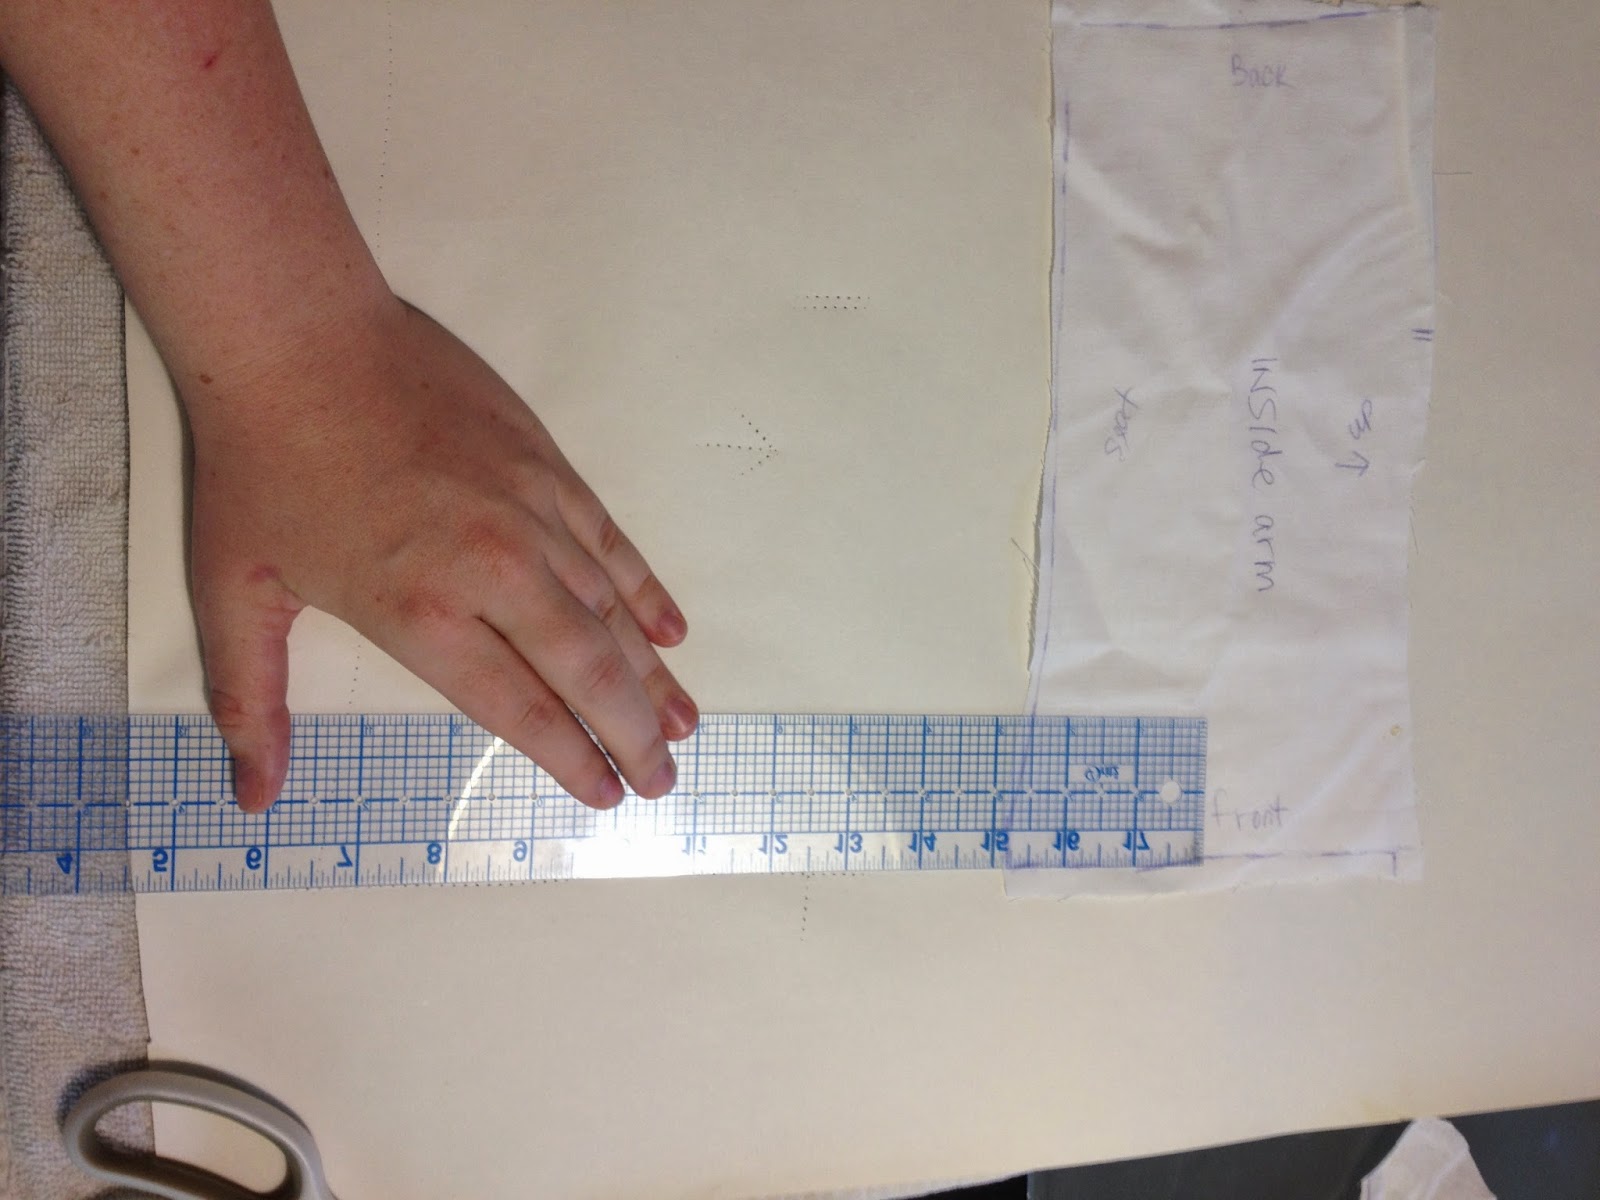
Take a good look at all of the different shapes that your furniture has. Start with the easy shapes like squares and rectangles. Then comes the arms of the chair. Pin together the pieces and MARK EVERYTHING. If you have seen commercial patterns before you will know that notches keep all of your pieces lined up. For those of you who are not familiar you will need to make marks of where to line up each piece when you are sewing. They will look like hatch marks. Also write what the piece is right on the cloth. Mark arrows of which way faces where for example "Floor" and "towards arm or towards seat". You can use an ink pen or sharpie just take care you don't accidently mark up your furniture.
Once you have all of your pieces figured out you will need to make your pattern pieces. These cloth pieces are not your pattern pieces in their current state. Even though you think they are straight and lined up they probably are not because even a true seasoned professional knows you must "true-up" the pattern.

You will need your cloth pieces, a ruler (I like to use a see-thru quilting ruler) a pencil, paper scissors and a roll of pattern paper or craft paper ( I got a roll of craft paper at Ikea). You obviously will also need your sewing machine and sewing supplies.
To make the paper pattern you need to trace your cloth pieces onto the paper. Using a tracing wheel can be essential at this point. For a quick tip, place a towel under the paper to help the tracing wheel mark the paper. It is very important to use the towel because you could leave marks on your table from the tracing wheel.


After tracing out the cloth pieces remove the towel. If you try to trace the marks with your pencil (while the towel is under the paper) the paper will tear. LIKE THIS:

After you trace out all of your cloth pieces with the tracing wheel and then the pencil, then comes the straightening and matching process. Make sure you transfer all of your notches and comments onto the paper pattern piece.

Start by creating right angles and squaring up the pieces.
Double check measurements by referring back to the furniture.


Once your pieces are all squared up and evened out it is time to check measurements and notches. Start by lining up the pattern pieces as they will be sewn together. Match up the notches and measure any curved surfaces that would be hard to line up. Label anything you think will be necessary.


Once all of your paper pattern pieces match up and all of the notches line up it is time to cut out your fabric!!!! Now up to this point we haven't talked about seam allowance because basically you have made a pattern for exactly what your couch or chair looks like. You have two options. You can add an extra around the pattern pieces on the paper, or you can use the width of your measuring tape to lay next to the pattern and then cut outside the tape.
TIP: When you cut out your paper pieces they may curl up on you. You can iron your paper pieces. Set your iron to NO STEAM and iron the paper face down. Do not leave the iron on the paper just lightly place the iron on the pattern piece and quickly run it back and forth. If you don't feel comfortable ironing the paper you can run the paper back and forth over the edge of a counter to straighten it out.

After you cut out the pieces you will need to line them up and pin them together. Then SEW!!
TIP: On corners use as many pins as you need to feel comfortable.


If you need to you can continue to refer back to the chair or couch to line up the pieces in case you get confused as to where things line up. Take all of the extra steps that you need to.


Finish sewing it all together.... and enjoy your lovely new slip-cover!!!!!
FROM THIS >>>>>>>>>>>>>>>>>>>>>>>> TO THIS!!!!


No comments:
Post a Comment