Showing posts with label kids. Show all posts

Wednesday, July 16, 2014

10 Minute Hooded Towel

 
10 Minute Hooded Towel
 
This tutorial is probably the shortest and easiest one that I will put up... EVER.
 
This whole thing should take you a total of 10 minutes including the time it takes for you to dust off your sewing machine.
 
Hooded towels are so cheap and thin now its a crime. My aunt Chris made me one of these for my daughter when she was a baby and I went crazy from there. I couldn't believe that I had gone even a few months without one!!!!!
 
 
I like to catch the sales at Target when they have them on towels because I find there store brand to be nice and plush (thick). I have made gifted hooded towels from towels and washcloths from Walmart but I didn't like them as much so I only make them from Target towels (on sale) now. I got the towel for $4 and the wash cloth for $2.50 so my whole project cost me $6.50 and will last me years of bath times and pool time (and even play capes).
 
Start with a towel and washcloth. You can match them or have two different colors, the world is your oyster here. You can be super creative or super dull like me and have all matching towels with hoods.
 
Cut off the tags so they don't get scratchy.
 
 
Fold them each in half to find the middle of each the washcloth and towel.


Place a pin to mark the middle of each the wash cloth and towel. 

Open up both wash cloth and towel and line up the pins (center) to make sure the washcloth is centered over the towel. The towel is long-wise.


This project has such limited sewing it is crazy.


Pin the washcloth across the top.

 Fold the washcloth down into approximately thrids and pin on the sides.


Stitch where you have pinned (red dotted lines only).
 
And there you have it!!!

 
Sorry about the weird white circle!
 
TA DA!!!!!
 

Saturday, July 12, 2014

How To: Make a Baby Bib (with free bib pattern)


Whether you are expecting a new baby or you are making a gift for someone who is, you know bibs are essential. I know at a certain point it's like you need 3-10 bibs a day depending how good your kid is at drooling.

This project is nice and quick and doesn't have many steps. The big decision is what fabric(s) to use. I had some PUL fabric or water resistant outer layer. I then picked a light weight fleece for the other side to absorb some moisture. I would recommend picking a fabric that will suck up the moisture or you will be defeating the purpose.

You can choose cute fabric or even use an old t-shirt (using the logo or image). You can add shapes or iron on things to add detail to your project.

Start with the pattern. You can use your own or Download my Bib Pattern

Fold or cut the pattern on one of the "tape lines" and line it up with the other tap line. Your pattern should look like this.
 
Cut along the outer most line. This pattern includes 1/4" seam allowance.


First cut out your pieces from the fabric(s) that you have chosen. You can even make this bib reversible based on this pattern it should be able to be reversed. Lay your pattern pieces both face up. This means the side you want facing out make sure they are both facing up. Next put your Velcro on the top left as indicated by the pattern. I put the fuzzy side on the "outside" or front fabric. then place the hook side in the same spot on the inside fabric.


The sandwich to two together. You will know it is right when you have a piece of Velcro on each side. Then sew all the way around with 1/4" seam allowance leaving an opening at the bottom of the bib. Leave yourself 3-4" across the bottom. The easiest way is to start on one end of the bottom and go all the way around ending at the other end of the bottom (see middle picture). Next be sure to clip your project on the rounded curves to ensure professional results. For my quick explanation on clipping click here.
 
 
This is why you should clip your seams.....


Clipping will help you flip your project right side out and have less issues.
 
You're almost done.

Now flip your project right side out. You should have an opening like the center picture. Fold the opening sides inward and make sure the bottom looks even all the way across. You can pin the section if it makes you feel more comfortable. Then top-stitch all the way around the outside of the project between 1/8" and 1/4". I lined up the bib on my presser foot like this.


And there you have it!!!
 

The Importance of Clipping Your Seam Allowance


The Importance of Clipping

Have you ever sewn something only to turn it right-side out and it just doesn’t look right? Chances are your instructions (or lack of instructions if you’re free styling) told you to clip the excess out of the seam allowance.

Clipping is generally used when you have sewn on a curve. The curve could be concave or convex (yes high-school geometry.. remember it?). Basically you will be clipping out small triangles out of the seam allowance to remove the excess fabric that would bunch up if you turn right-side out without clipping. Got it? If not, here’s an example.

This is the seam for an outward curve.


Here’s what it will look like if you turn it without clipping.


This is how you should clip this type of curve. Clip towards the seam line but be careful not to cut the actual seam. Cutting out triangles will remove the excess fabric for when you turn your project right side out.


And your work pays off, here is the finished edge (that has been clipped). See the difference?


This is the seam for an inward curve.


Here’s what it will look like if you turn it without clipping.


This is how you should clip this type of curve.
Start by making angled clips towards the seam line (traveling in one direction) and then come back angling opposite direction. It may not look pretty but it removes the excess fabric for when you flip it.


And your work pays off, here is the finished edge (that has been clipped). See the difference?


No matter what you are sewing you should ALWAYS clip your seams to make your project look more professional.

Sunday, May 18, 2014

How To: Make Your Own Chair Slip-Cover

  
How To: Make Your Own Chair Slip-Cover
                       Before                                                                          After
 
 
      I don't know about you but at my house things can get messy from time to time. This tutorial I chose to do on a child's size chair but the principals are exactly the same for any chair or couch that you need to cover.
 
     I want to start by saying that this doesn't have to take you a long time to do and you can have professional results. Store bought slip-covers can be expensive and look little better than a sheet thrown over your chair or couch. To get a better fit you will want to make a pattern to fit your furniture exactly.
 
Let's Begin!  Start with plain cotton fabric. You can buy bleached or unbleached muslin or cotton from the fabric store or you can use an old sheet. A lighter color will be easier to mark on.
 
     Take a good look at all of the different shapes that your furniture has. Start with the easy shapes like squares and rectangles. Then comes the arms of the chair. Pin together the pieces and MARK EVERYTHING. If you have seen commercial patterns before you will know that notches keep all of your pieces lined up. For those of you who are not familiar you will need to make marks of where to line up each piece when you are sewing. They will look like hatch marks. Also write what the piece is right on the cloth. Mark arrows of which way faces where for example "Floor" and "towards arm or towards seat". You can use an ink pen or sharpie just take care you don't accidently mark up your furniture.
 
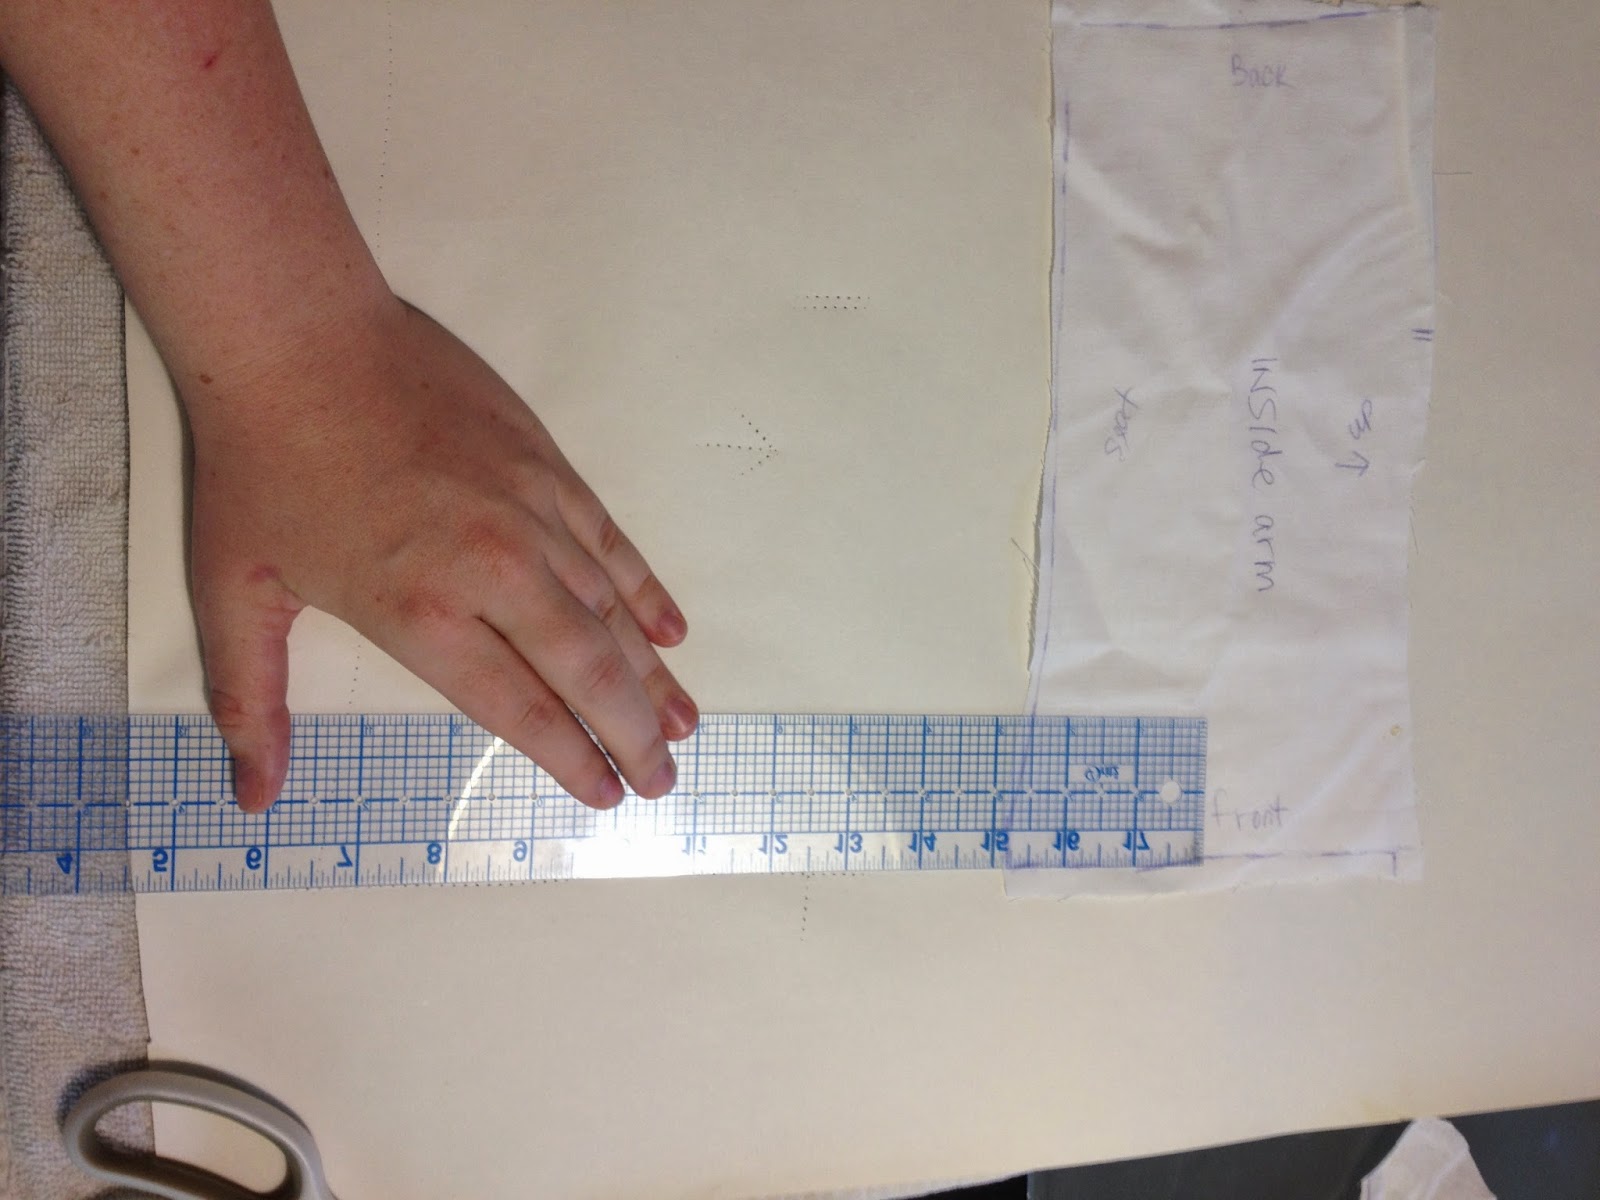
     Once you have all of your pieces figured out you will need to make your pattern pieces. These cloth pieces are not your pattern pieces in their current state. Even though you think they are straight and lined up they probably are not because even a true seasoned professional knows you must "true-up" the pattern.


You will need your cloth pieces, a ruler (I like to use a see-thru quilting ruler) a pencil, paper scissors and a roll of pattern paper or craft paper ( I got a roll of craft paper at Ikea). You obviously will also need your sewing machine and sewing supplies.
 
 
To make the paper pattern you need to trace your cloth pieces onto the paper.  Using a tracing wheel can be essential at this point. For a quick tip, place a towel under the paper to help the tracing wheel mark the paper. It is very important to use the towel because you could leave marks on your table from the tracing wheel.
 
After tracing out the cloth pieces remove the towel. If you try to trace the marks with your pencil (while the towel is under the paper) the paper will tear. LIKE THIS:
 
 
After you trace out all of your cloth pieces with the tracing wheel and then the pencil, then comes the straightening and matching process. Make sure you transfer all of your notches and comments onto the paper pattern piece.
 
 
Start by creating right angles and squaring up the pieces.
 
Double check measurements by referring back to the furniture.
 
 
Once your pieces are all squared up and evened out it is time to check measurements and notches. Start by lining up the pattern pieces as they will be sewn together. Match up the notches and measure any curved surfaces that would be hard to line up. Label anything you think will be necessary.


Once all of your paper pattern pieces match up and all of the notches line up it is time to cut out your fabric!!!! Now up to this point we haven't talked about seam allowance because basically you have made a pattern for exactly what your couch or chair looks like. You have two options. You can add an extra  around the pattern pieces on the paper, or you can use the width of your measuring tape to lay next to the pattern and then cut outside the tape.

TIP: When you cut out your paper pieces they may curl up on you. You can iron your paper pieces. Set your iron to NO STEAM and iron the paper face down. Do not leave the iron on the paper just lightly place the iron on the pattern piece and quickly run it back and forth. If you don't feel comfortable ironing the paper you can run the paper back and forth over the edge of a counter to straighten it out.

After you cut out the pieces you will need to line them up and pin them together. Then SEW!!
TIP: On corners use as many pins as you need to feel comfortable.
If you need to you can continue to refer back to the chair or couch to line up the pieces in case you get confused as to where things line up. Take all of the extra steps that you need to.


Finish sewing it all together.... and enjoy your lovely new slip-cover!!!!!
 
                    FROM THIS >>>>>>>>>>>>>>>>>>>>>>>> TO THIS!!!!